How to set up a Fundraiser on #NoGoingBack
NoGoingBack is our own platform that enables people to either create their own fundraiser as individuals or as a team/organisation. People can also donate through this platform.
Head to the sign up page at NoGoingBack
Once in the sign up page- you can choose how you would like to participate.
Follow the easy steps to set up your fundraiser which includes name/email and password to create your account.
You can then create a name for your fundraiser, add photos and set a fundraising goal- this is an important part of your fundraiser as it helps
You will then have a fundraising dashboard where you can add updates and create a blog. You will be sent a welcome e mail from us.
Log in whenever you want to to see how you or your team are tracking. You will also be able to see what other are doing as this platform creates a community of fundraising activity.
All funds come directly to Brain Tumour Support New Zealand and every donation receives a receipt.
There is a FAQ section that provides more information
How to Start a Givealittle Fundraiser
Follow these easy steps to get your Brain Tumour Support NZ fundraiser up and running.
Why use Givealittle for your Fundraiser?
Brain Tumour Support NZ has an approved Givealittle page already set up which you can use to run your own fundraising campaign. The funds you raise will be paid directly to Brain Tumour Support NZ so you don’t have to worry about handling donations and your donors will have the confidence that they are paying through a trusted organisation.
How do I start?
First, head to the Brain Tumour Support NZ Givealittle page.
Click on the “Fundraise” button and you will be directed to a page titled: “Fundraise for Brain Tumour Support NZ”. Fill out this form to set up your fundraiser.
Step 1
If you are doing the fundraiser by yourself, tick the box “This is my own page” or if you are doing it as a business or group, eg. your workplace, a sports team, school group, etc., tick “This page represents an organisation”.
Step 2
Add a profile picture of yourself. This makes your fundraiser more personal and helps you connect to your donors.
Step 3
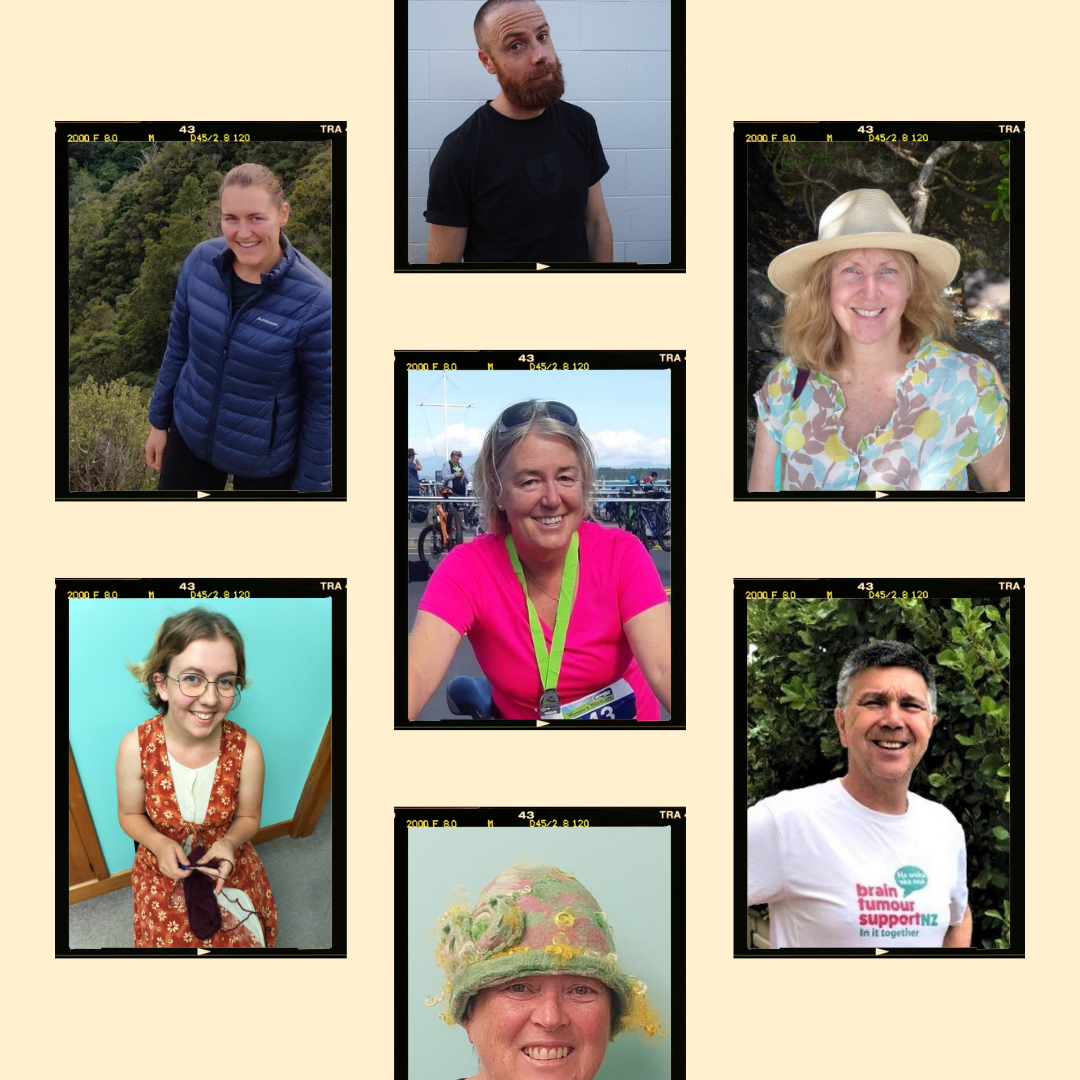
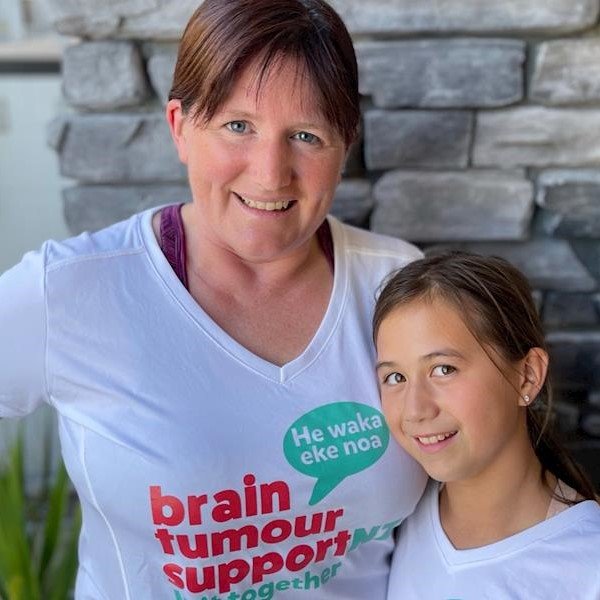
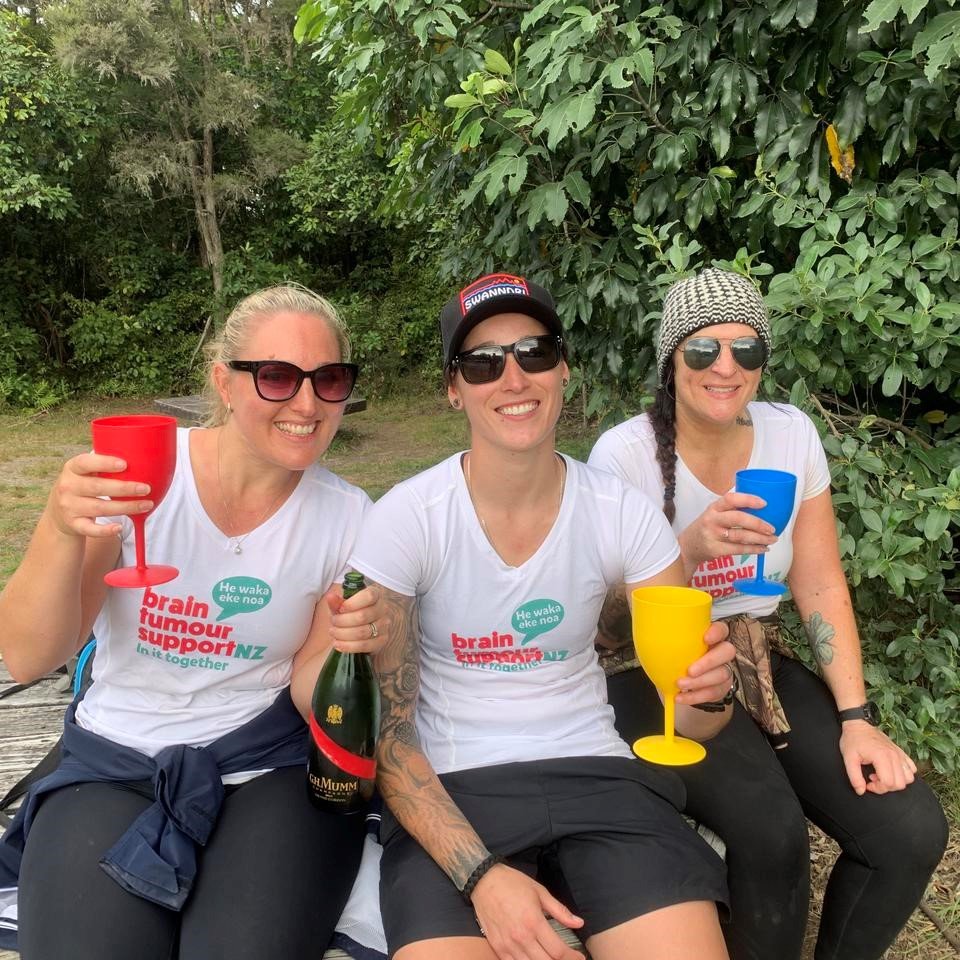
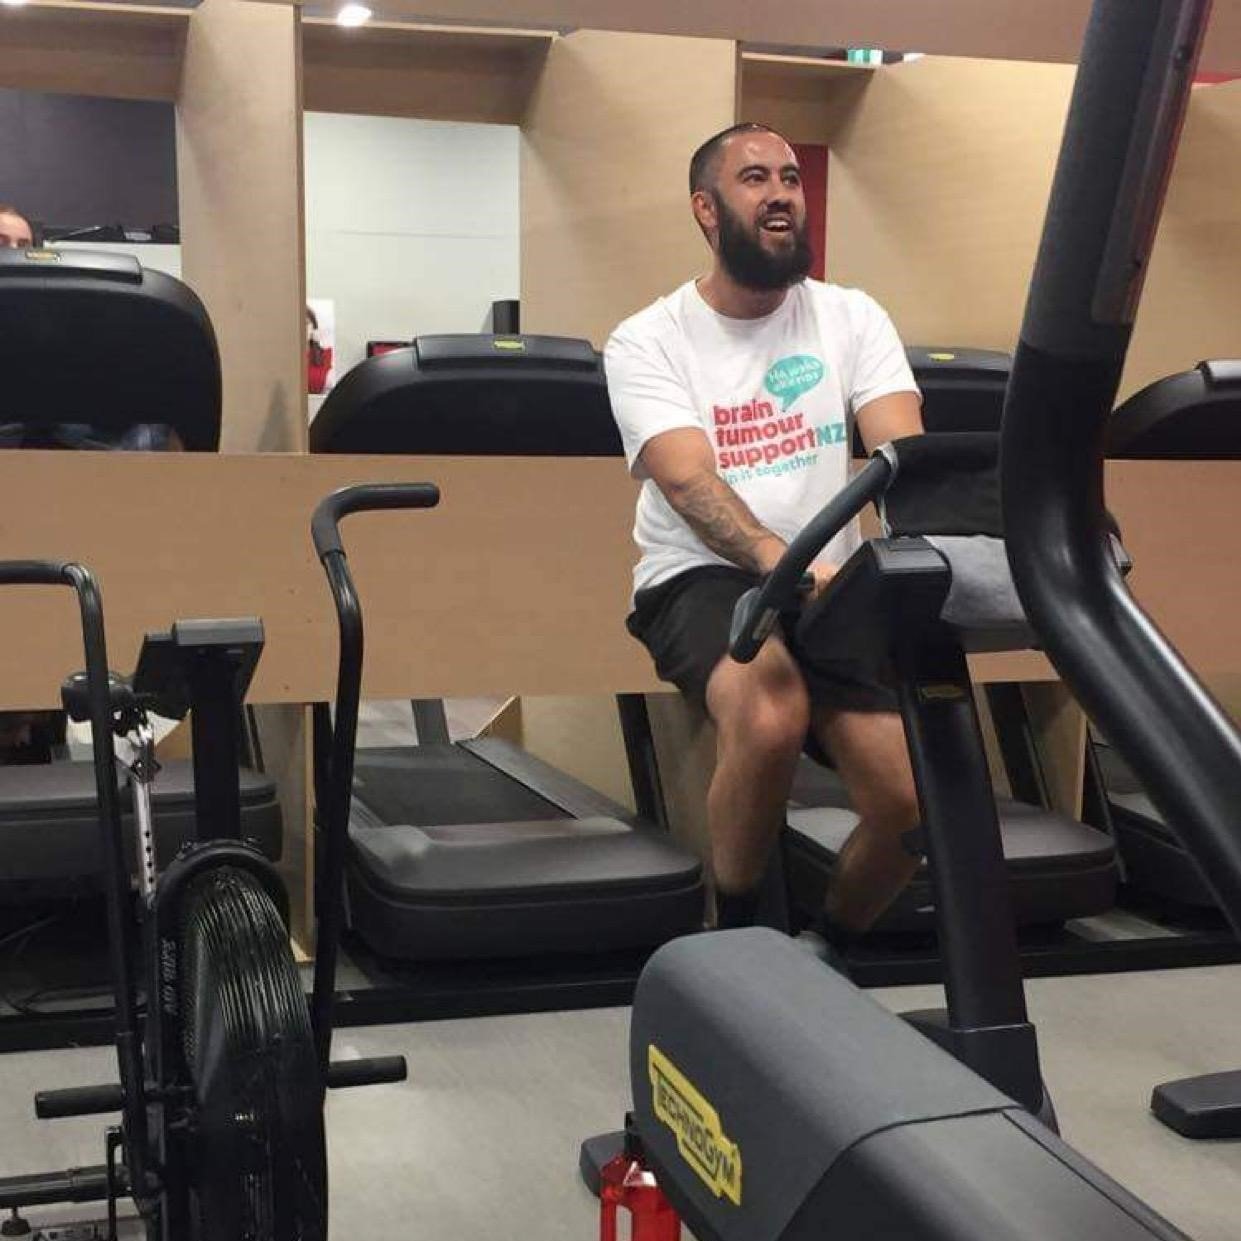
Choose a good photo for your page image. Images carry a powerful message and a photo which tells a story and shows why you are doing the fundraiser can make a big difference to the amount of funds raised.
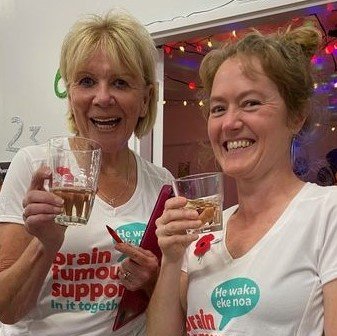
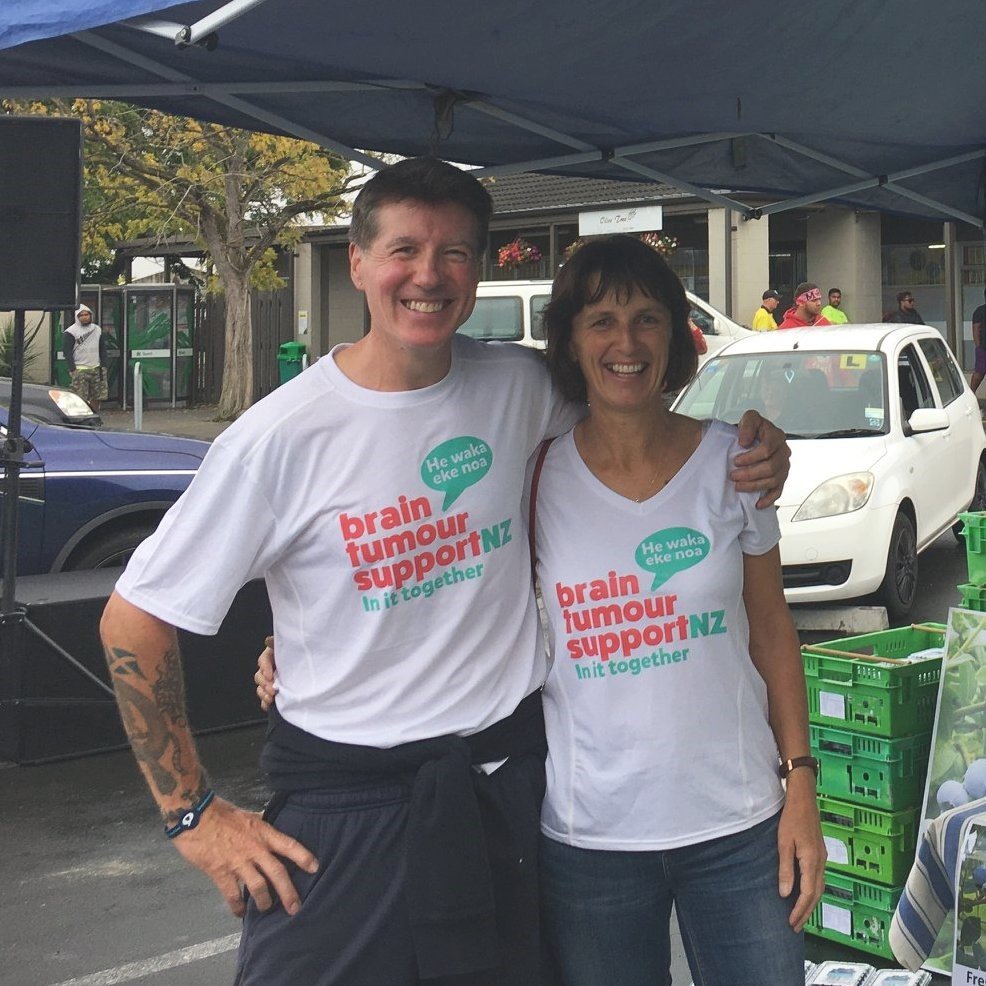
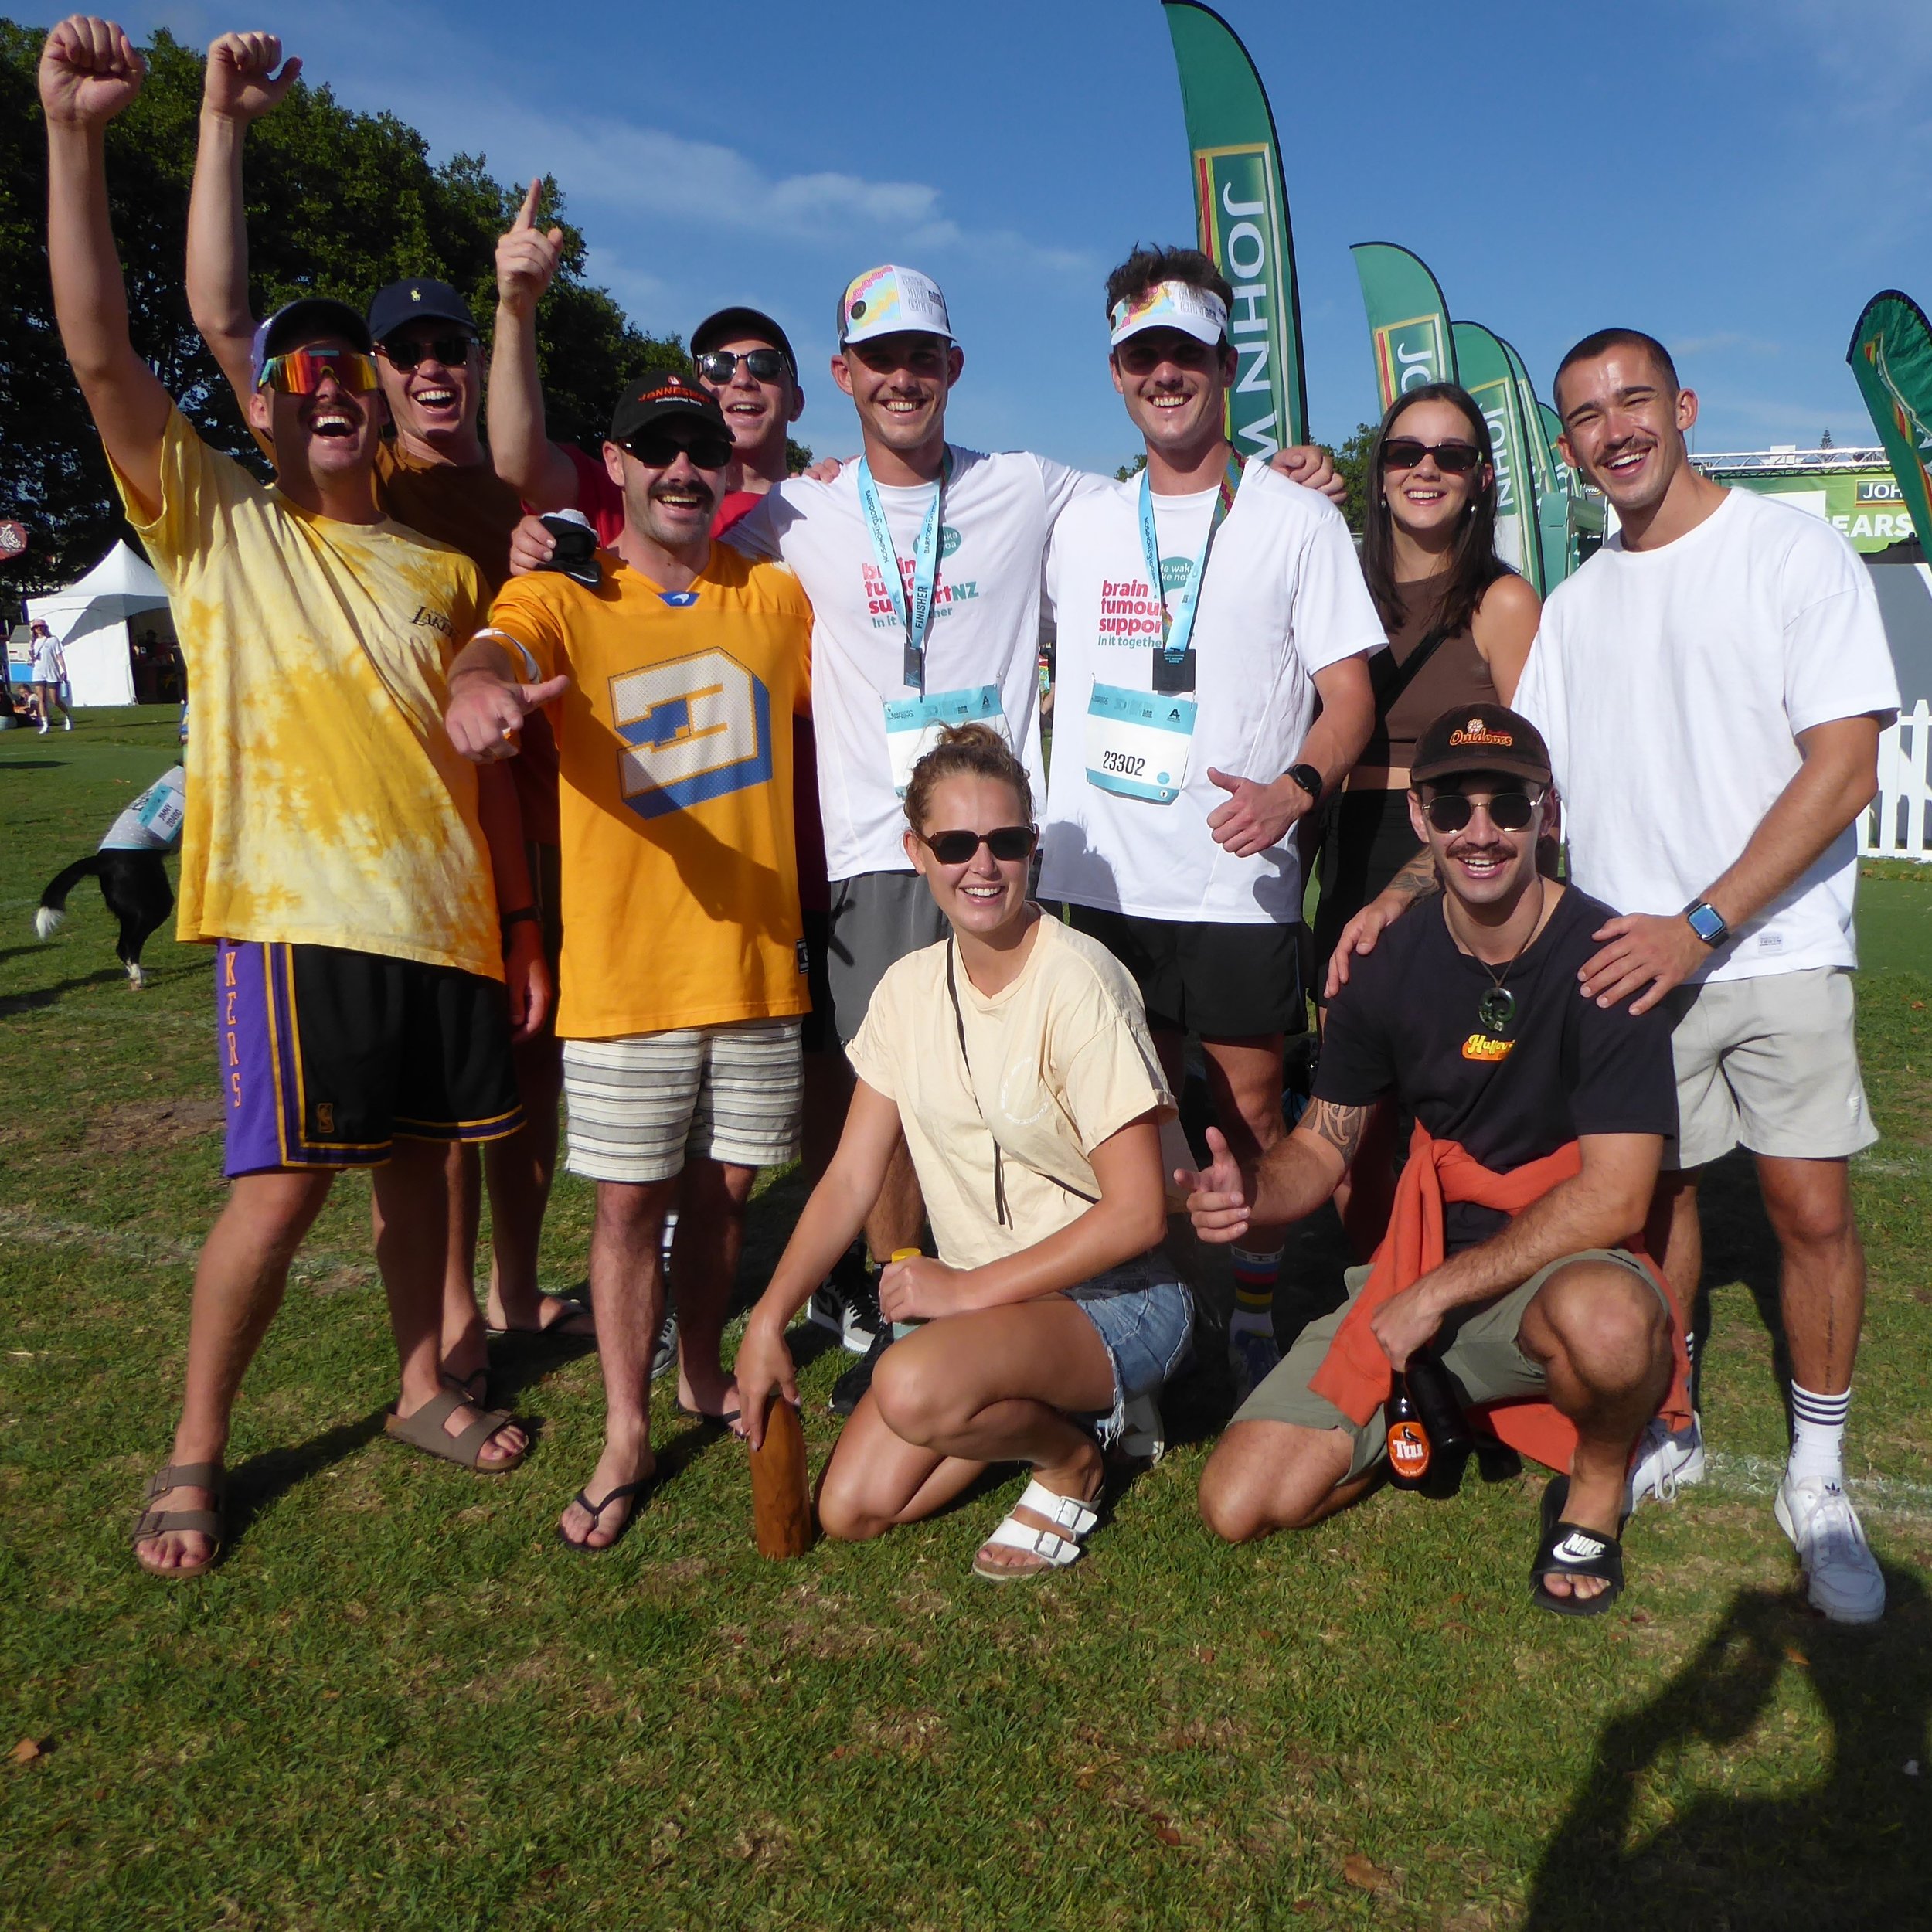
Have a look at the photos (left) as examples of powerful images which tell a story.
Step 4
It’s good to set a fundraising target for people to contribute towards. You can start off with a relatively small amount and if your target is met you can increase it.
Leave your fundraiser open for a good amount of time as it can take time for a campaign to build momentum. If you are doing an event on a specific date, you can leave the fundraiser open for one or two weeks after the event as some people will only learn about the fundraiser after you have completed the event.
Step 5
Come up with a catchy title for your page. This will attract people to the page and read your story.
Step 6
The section “Your motivation” is your opportunity to tell everyone about your cause and why you are doing the fundraiser. If you have been impacted by a brain tumour, either directly yourself or through a loved family member or friend, you can write about what effect the diagnosis had on you.
If the fundraiser is in memory of someone you have lost, you could describe what that person meant to you, what it was like when they were diagnosed with a brain tumour, and why you want to raise funds for Brain Tumour Support NZ.
And finally…
Good luck and have fun!
Fundraising can be immensely rewarding, knowing that you are doing something to help Kiwis whose lives have been impacted by a brain tumour. Brain Tumour Support NZ is hugely grateful to all of the wonderful people who fundraise for us!


